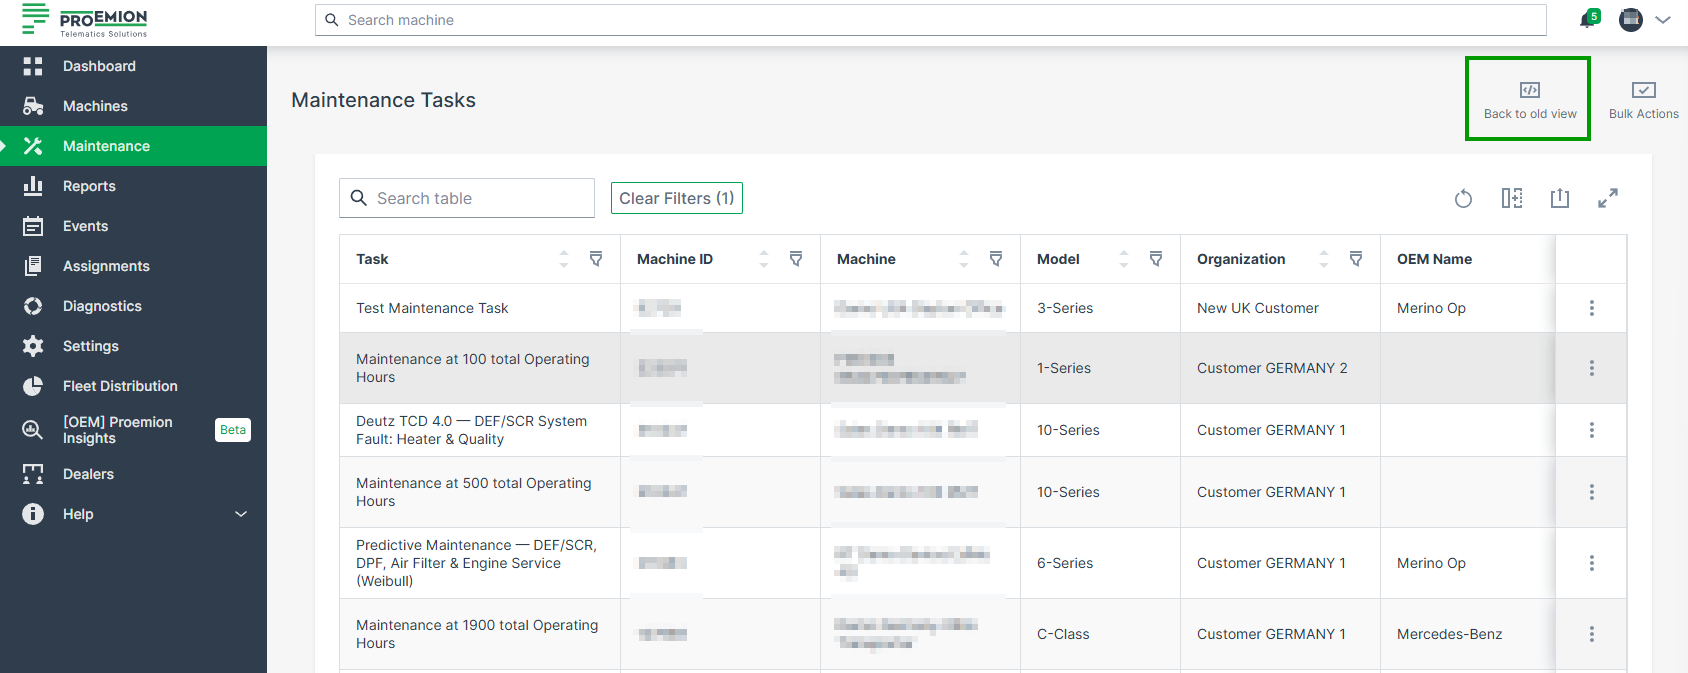
Table View
The Table View is the default view for Maintenance Tasks, see Maintenance Tasks Overview.
Note
The behavior and configuration of maintenance tasks can vary depending on the manufacturer's requirements and implementation.
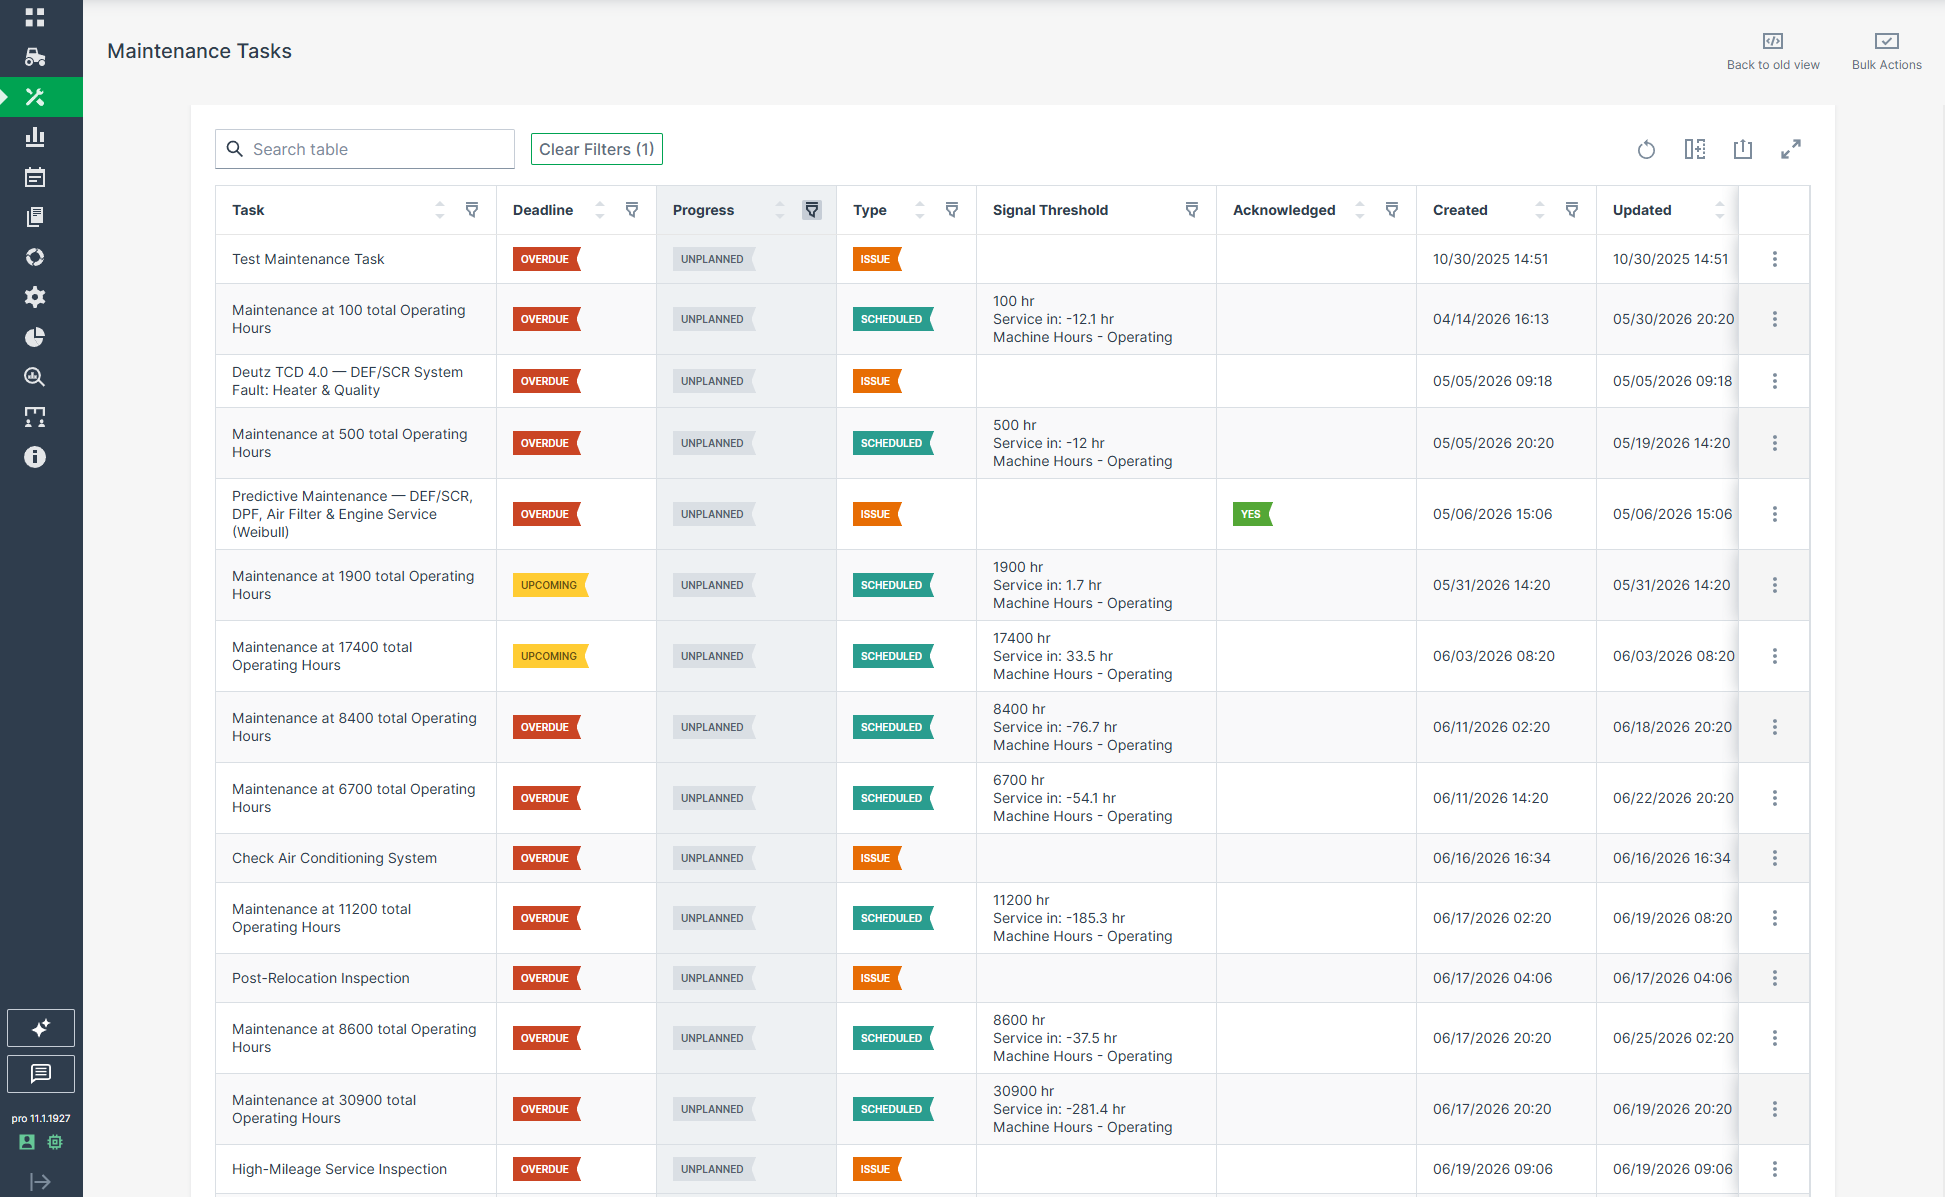
Maintenance Task Table
The following columns are available for each task and can be shown, hidden, or reordered. Most columns can also be filtered individually via the filter icon in the column header, see Filters:
- Maintenance type - Scheduled maintenance or Maintenance Issue
- Deadline - Upcoming or Overdue, shown as a colored label with tooltip
- Progress - Unplanned, Planned, Skipped, or Completed, shown as a colored label with tooltip
- Signal threshold (e.g. operating hours)
- Date threshold (calendar-based maintenance)
- Created / Updated
- Assigned user
- Description or Activities
- Completion Note
- Acknowledgement
Depending on the defined maintenance workflow, Deadline and Progress states might be set by the Maintenance Planner, see Maintenance YAML configuration explanation.
The table supports the standard table functions:
- Search
- Export to CSV or XLSX, see Print list of tasks
- Resizing for a larger screen view
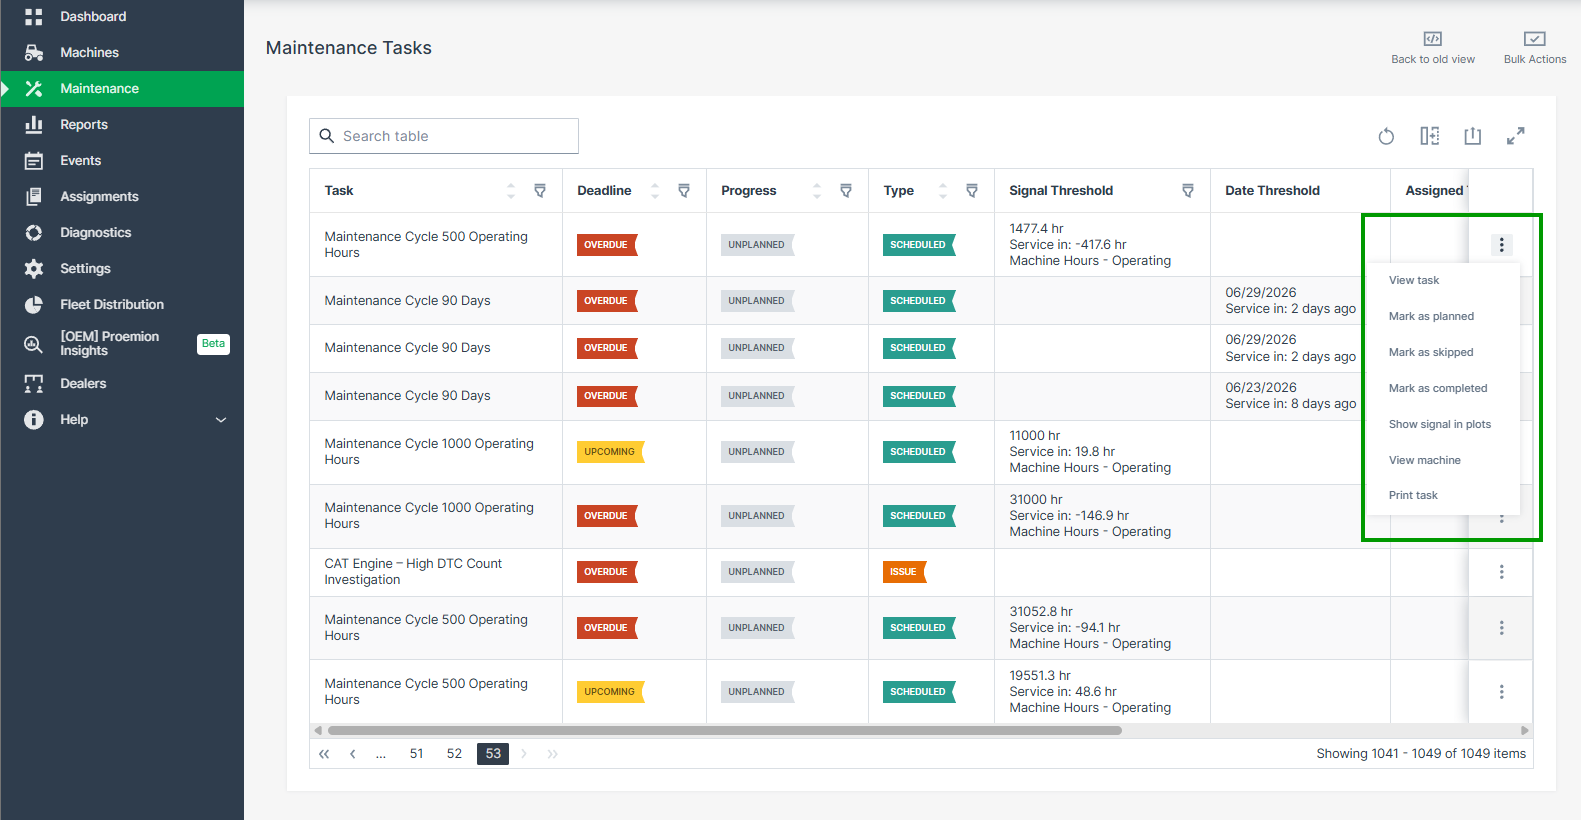
Single Task Actions
Each task row provides access to individual actions via the three-dots menu. Clicking anywhere on a row opens the task detail view without using the three-dots menu.
| Action | Description |
|---|---|
| View task | Opens the task detail view (same as clicking anywhere on the row) |
| Mark as planned / skipped / completed | Changes the progress state directly without opening the task detail view, see Update Task |
| Show signal in plots | Opens the Plot Report pre-configured with the machine and signal driving the maintenance task |
| View machine | Navigates to the Machine Page of the machine associated with the task, showing machine state, diagnostics, and operating data |
| Print task | Opens the print dialog for the individual task, see Print Maintenance Tasks |
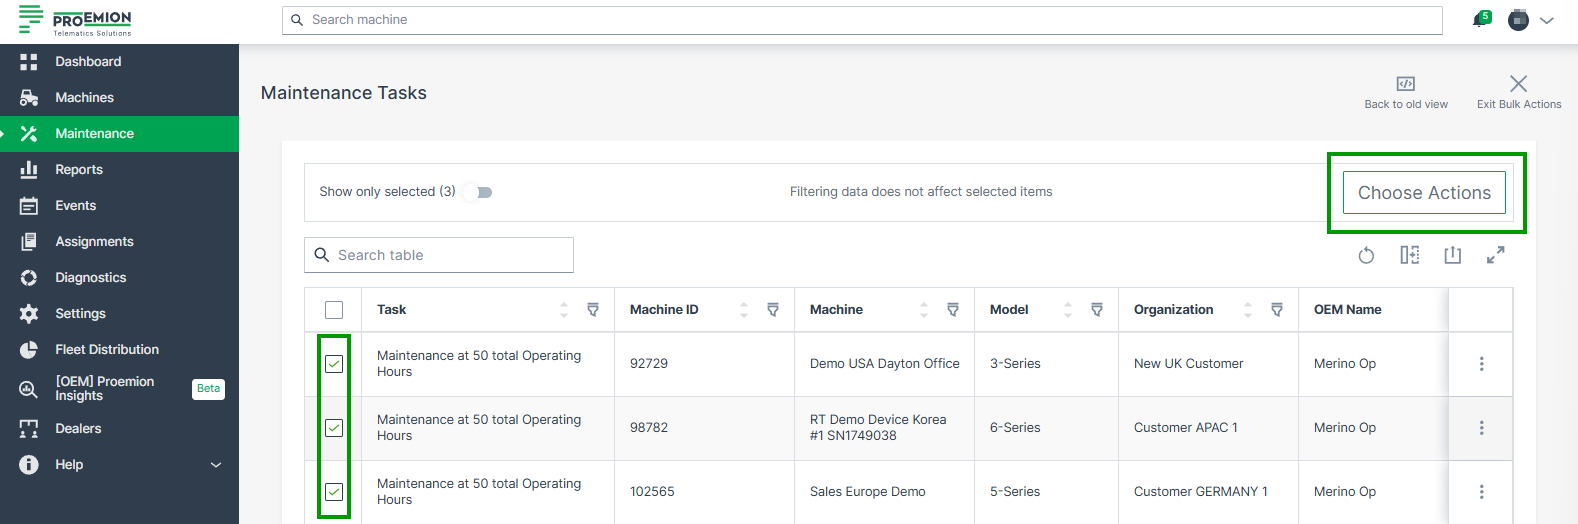
Bulk Actions
Use bulk actions to apply the same change to multiple tasks at once, without opening each task individually.
Click Bulk Actions at the upper right to enable multi-selection of maintenance tasks. Select the desired tasks using the checkboxes, then click Choose Actions to open the bulk edit dialog.
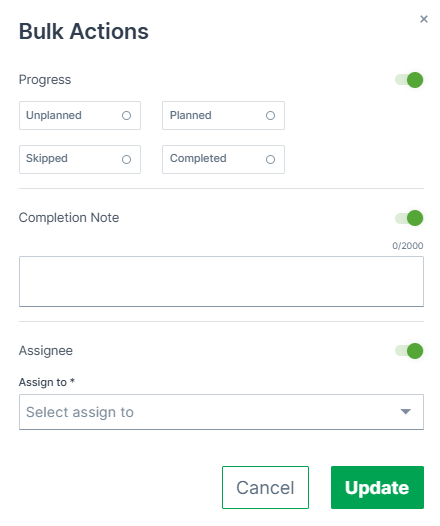
Bulk actions support:
- Progress: set the progress state (Unplanned, Planned, Skipped, or Completed) on all selected tasks at once
- Completion Note: add or delete a completion note (up to 2,000 characters) on all selected tasks at once
- Assignee: assign a user to or remove a user from all selected tasks at once
Each section can be toggled on or off in the dialog. Click Update to apply the changes.
Selecting Show only selected displays only the selected rows, independent of the active page or any applied filters. Active filters do not affect the current selection.
Selecting Select all is limited to 50 results. When assigning a user during a bulk action, the assignee list is not searchable.
Note
Submitting an empty Completion Note during a bulk action deletes the existing Completion Note on the selected tasks, unless the Completion Note has been configured as mandatory - in that case, an empty note shows a validation error instead, see Completion Note.
Task Detail
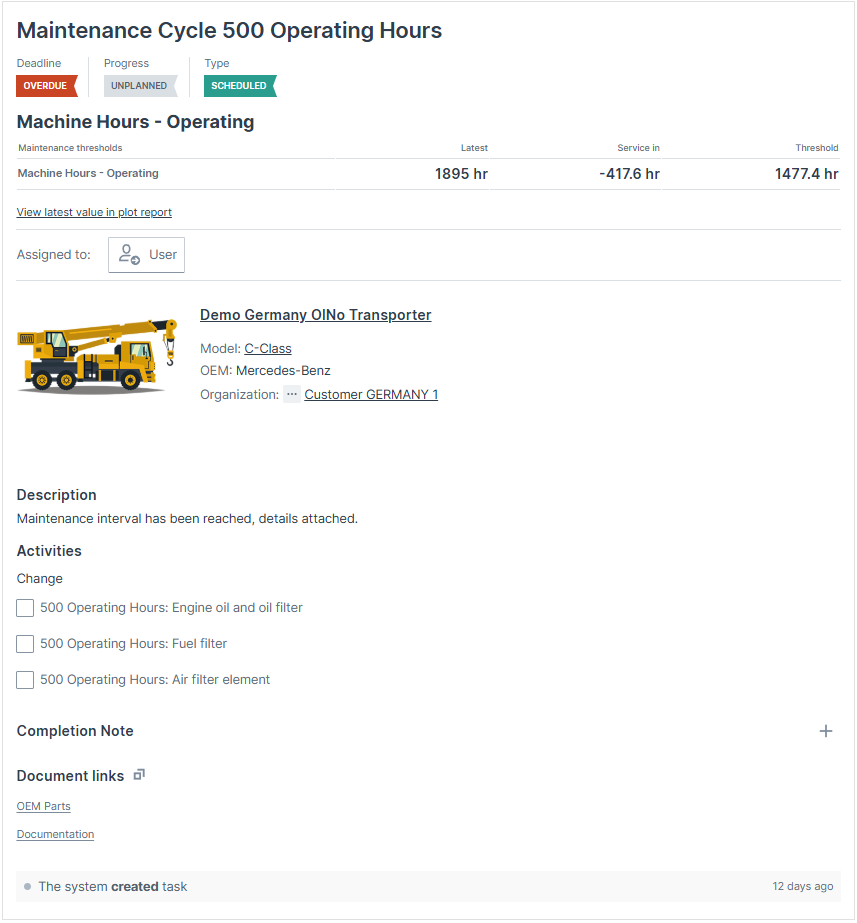
The task detail view shows:
| Item | Description |
|---|---|
| Deadline / Progress / Type | Shown as colored labels |
| Maintenance Thresholds | Shown for scheduled maintenance tasks based on a signal, a calendar interval, or both. Displays the Service in and Threshold value for each configured threshold (signal name or date). Additionally the Latest value is shown for signal thresholds. Click View latest value in plot report to open the Plot Report for a signal threshold (not available for the date threshold). Not shown for unscheduled maintenance issues. |
| Assigned to | Assign a user to the task, see Assign Task |
| Machine | Name, model, OEM, and organization of the associated machine |
| Description | The maintenance task description |
| Activities | Optional checklist of steps to complete, grouped by category where configured. Can be shown instead of Description. |
| Completion Note | Add information regarding the task |
| Document links | Links to external resources such as spare part ordering portals or documentation, configured via the Maintenance Planner |
| Acknowledgement | Shows who has acknowledged the completion of the maintenance task |
| History | Chronological list of all actions performed on the task |
When a maintenance task is completed, click Mark as... > Mark as completed in the header, see Update Task.
Assign Task
Maintenance tasks can be assigned to service technicians directly from the task detail view.
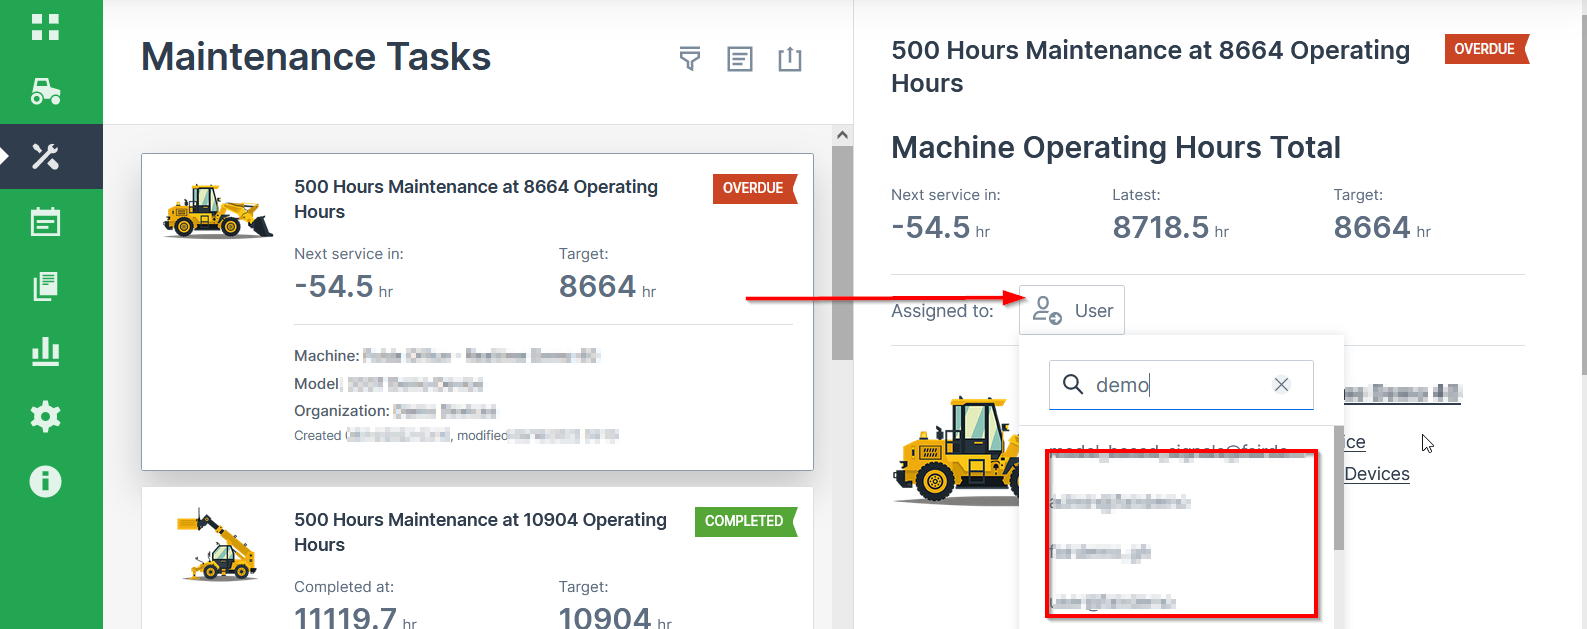
- Open the desired Maintenance Task.
- Choose from the list of eligible users in the Assigned to field. You can also search by name.
The user is now assigned to the Maintenance Task.
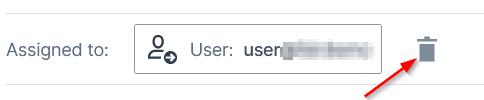
To unassign the user, click the delete icon next to the name:
Note
If the permission set of the assigned user changes to a lower level, the user will be automatically unassigned.
Acknowledge Task
Acknowledging a maintenance task means adding a signature to confirm the completion of the task. Once signed, the maintenance task shows the Acknowledgement section.
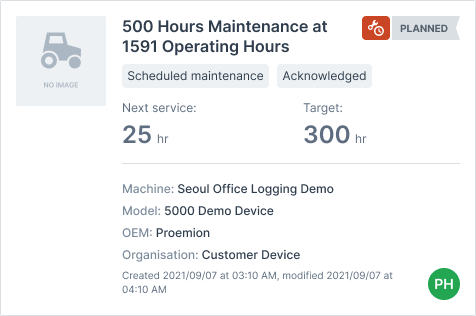
Click Show image to view the signature. This is only available to users with Maintenance Tasks:Admin Permission Set.
Machine Owners can see the completion note and that the task was acknowledged for completed tasks only.
Update Task
The Mark as... menu at the top of the task detail view can be used to set a task's progress to Planned, Skipped, or Completed. The menu is not displayed for skipped maintenance tasks.
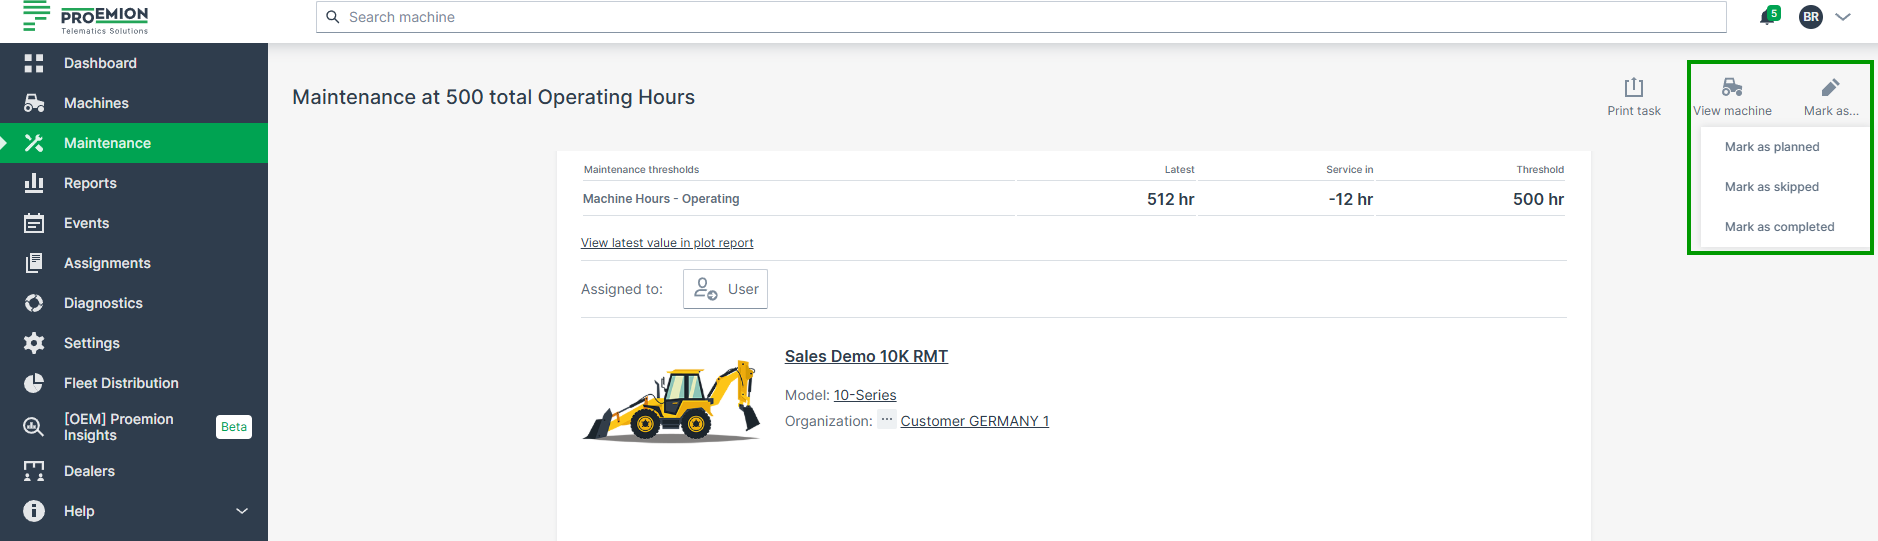
To complete the maintenance task, click Mark as... and select Mark as completed. A confirmation dialog is displayed:
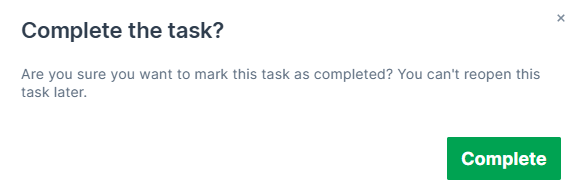
Confirming with Complete changes the Progress of the maintenance task to Completed and iterates/resets the Service Cycle. This action cannot be undone.
Note that a maintenance task may be closed despite pending Activities.
Switch to Card View
To switch to the Card View, click Back to old view at the upper right of the table.