Remote Machine Tunnel Client
The Remote Machine Tunnel Client (RMT Client) establishes TLS-encrypted local TCP connections to services on remote machines.
This allows local tools (for example, CODESYS) to connect to remote services through 127.0.0.1:<local port> without requiring direct network access.
The RMT Client is specifically designed for use with the Remote Machine Tunnel feature and provides built-in encryption without requiring external tools.
This chapter explains how to use the RMT Client to establish and manage secure tunnel connections.
Refer to the Remote Machine Tunnel documentation for configuration details and general information.
Prerequisites
Before you start, make sure the following requirements are met:
-
The RMT Client is installed. Open the Remote Machine Tunnel overview page and download it directly from the DataPortal.

Figure 1: Download RMT Client -
You have access to the target machine in the DataPortal.
- A Remote Machine Tunnel endpoint of type TCP is configured and started, see Endpoint Management.
Open a tunnel
To initiate a tunnel, proceed as follows:
-
Navigate to Machines > Remote Machine Tunnel to open the Remote Machine Tunnel overview page.
-
In the Address column, click the link with the prefix
rmt://.... Ifrmt://links do not open, make sure the RMT Client is installed.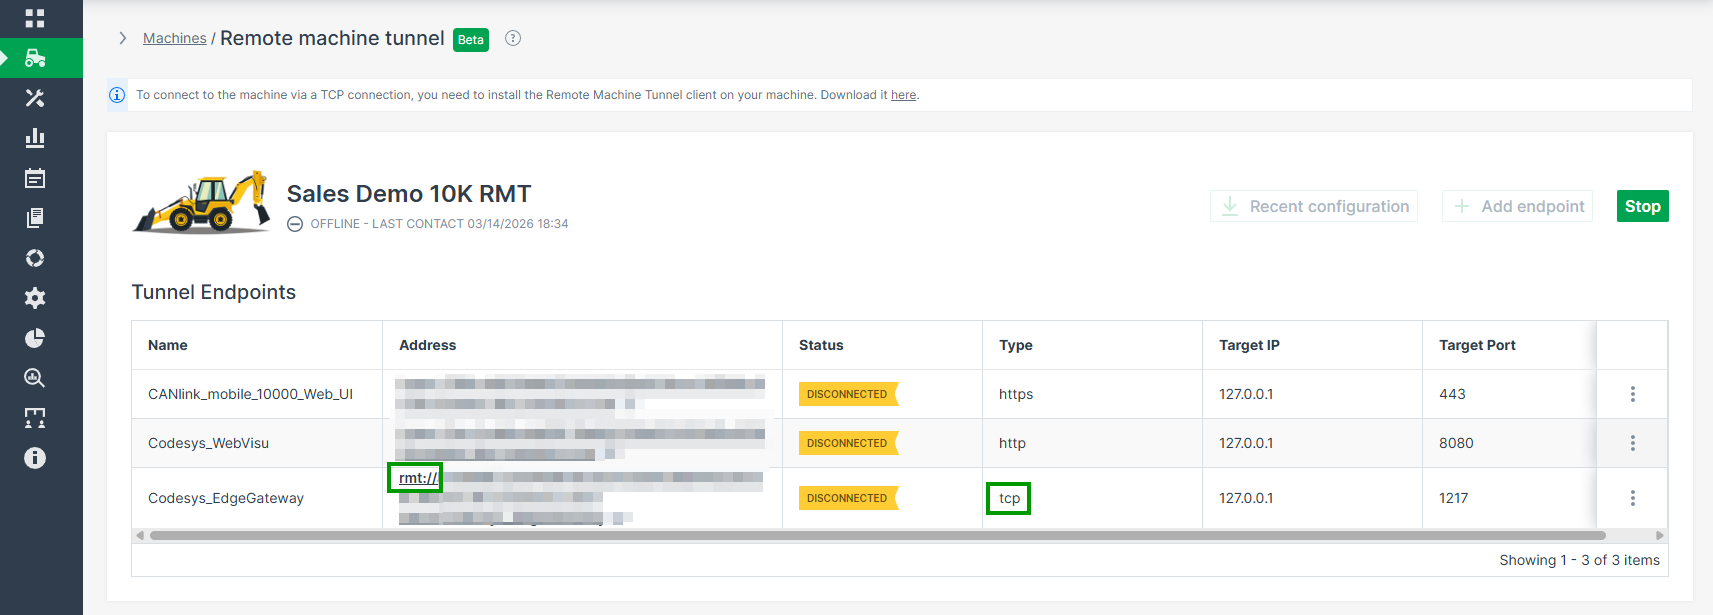
Figure 2: Address column -
In the browser prompt, select Open Remote Machine Tunnel Client to open the connection in the local client.
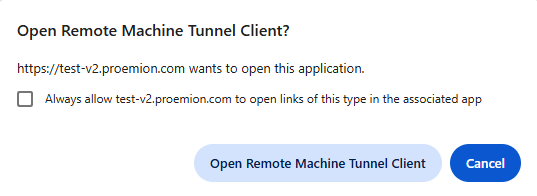
Figure 3: Browser prompt open RMT client -
In the local port configuration dialog, enter an available local TCP port. The valid port range is 0 to 65535, though ports > 1024 are typically used for custom applications.
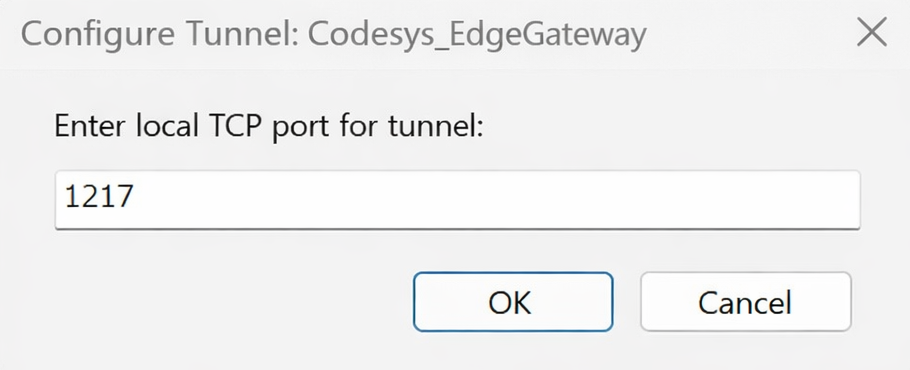
Figure 4: Local port configuration dialog -
Click OK. The tunnel starts automatically once a valid port is confirmed, and a system notification appears to confirm that the tunnel has been successfully added.
Your service tool (like CODESYS) can now connect to127.0.0.1:<local port>using the configured port.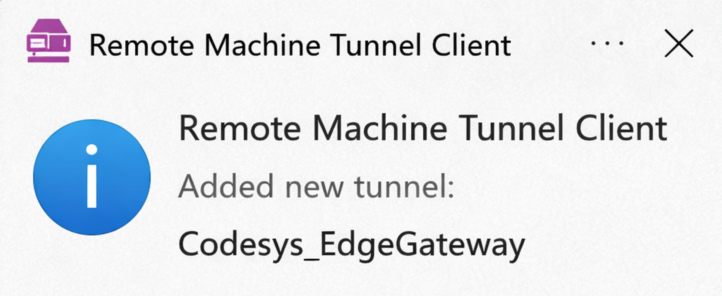
Figure 5: System notification
Manage tunnels
The RMT Client is located in the Windows notification area.
You can run multiple tunnels at the same time.
If the RMT client icon ![]() is not visible, select the arrow in the taskbar to show hidden icons.
is not visible, select the arrow in the taskbar to show hidden icons.
To manage tunnels, proceed as follows:
-
Right-click the RMT Client icon
 to view all active tunnels and their assigned local ports.
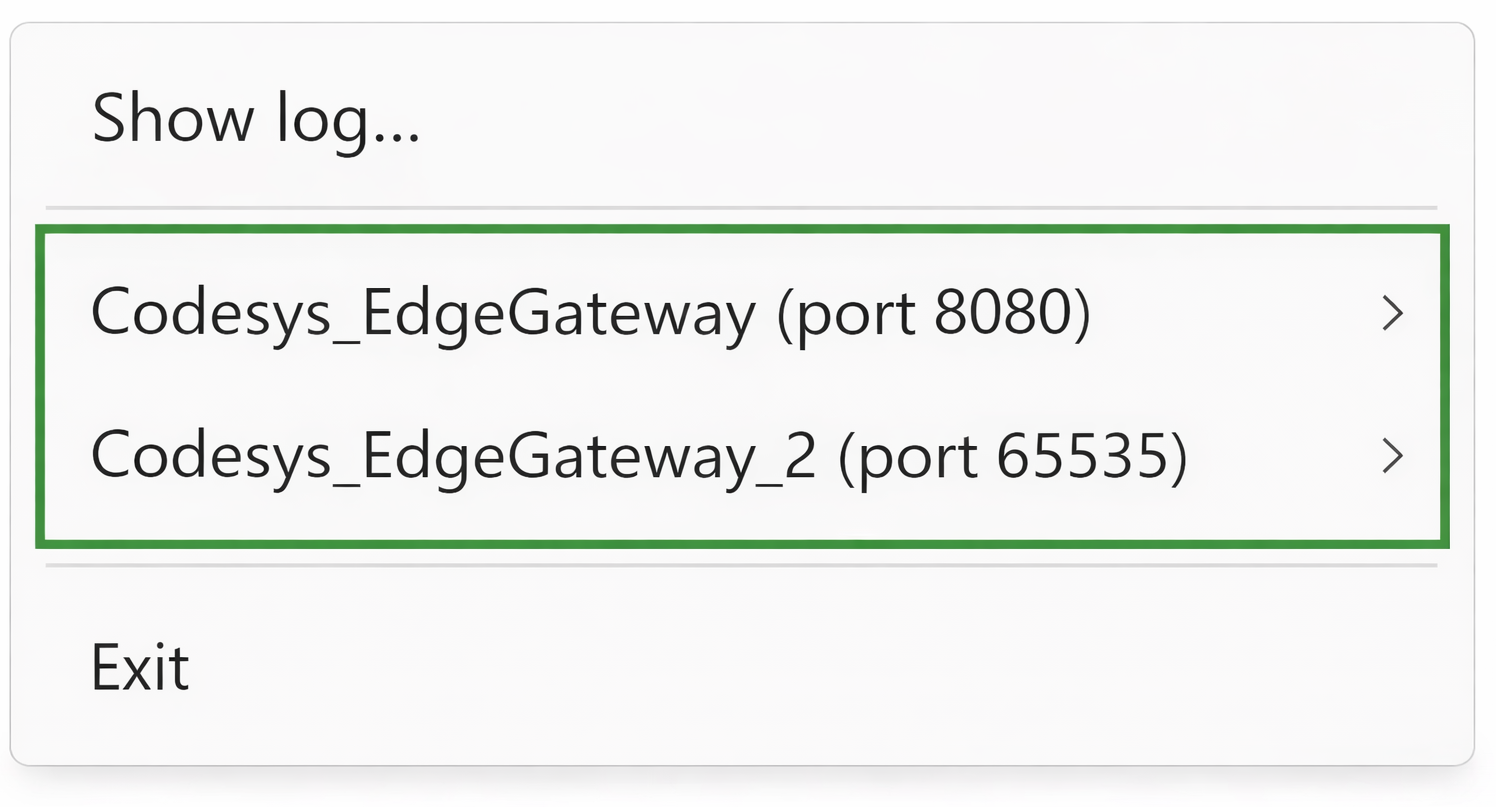
Figure 6: View active tunnels -
Click on the tunnel you want to manage to view all available tunnel options.
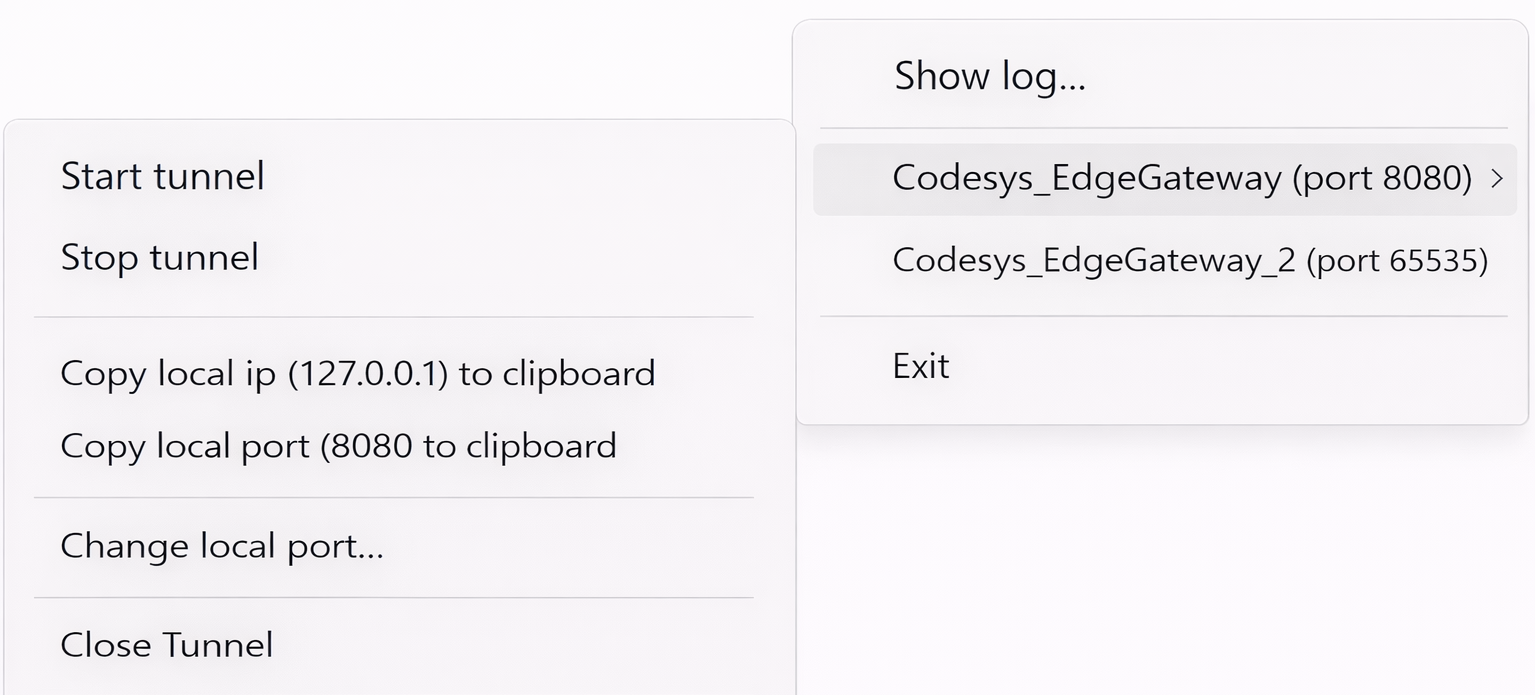
Figure 7: View tunnel options -
Hover over an individual tunnel option to access these controls.
Tunnel options
In the following table you find all available options with description.
| Option | Description |
|---|---|
| Start tunnel | Resumes a manually stopped tunnel. Tunnels start automatically upon creation. |
| Stop tunnel | Closes the local port and pauses the connection, but keeps the entry in your list for easy restart. |
| Copy local IP | Copies the loopback address (127.0.0.1) to your clipboard. |
| Copy local port | Copies the active port number to your clipboard. |
| Change local port... | Opens the port dialog. The tunnel is temporarily stopped while you assign a new port and restarts automatically once confirmed. |
| Close tunnel | Stops the connection and removes the tunnel from the list. To re-add it, you must click the link in the DataPortal again. |
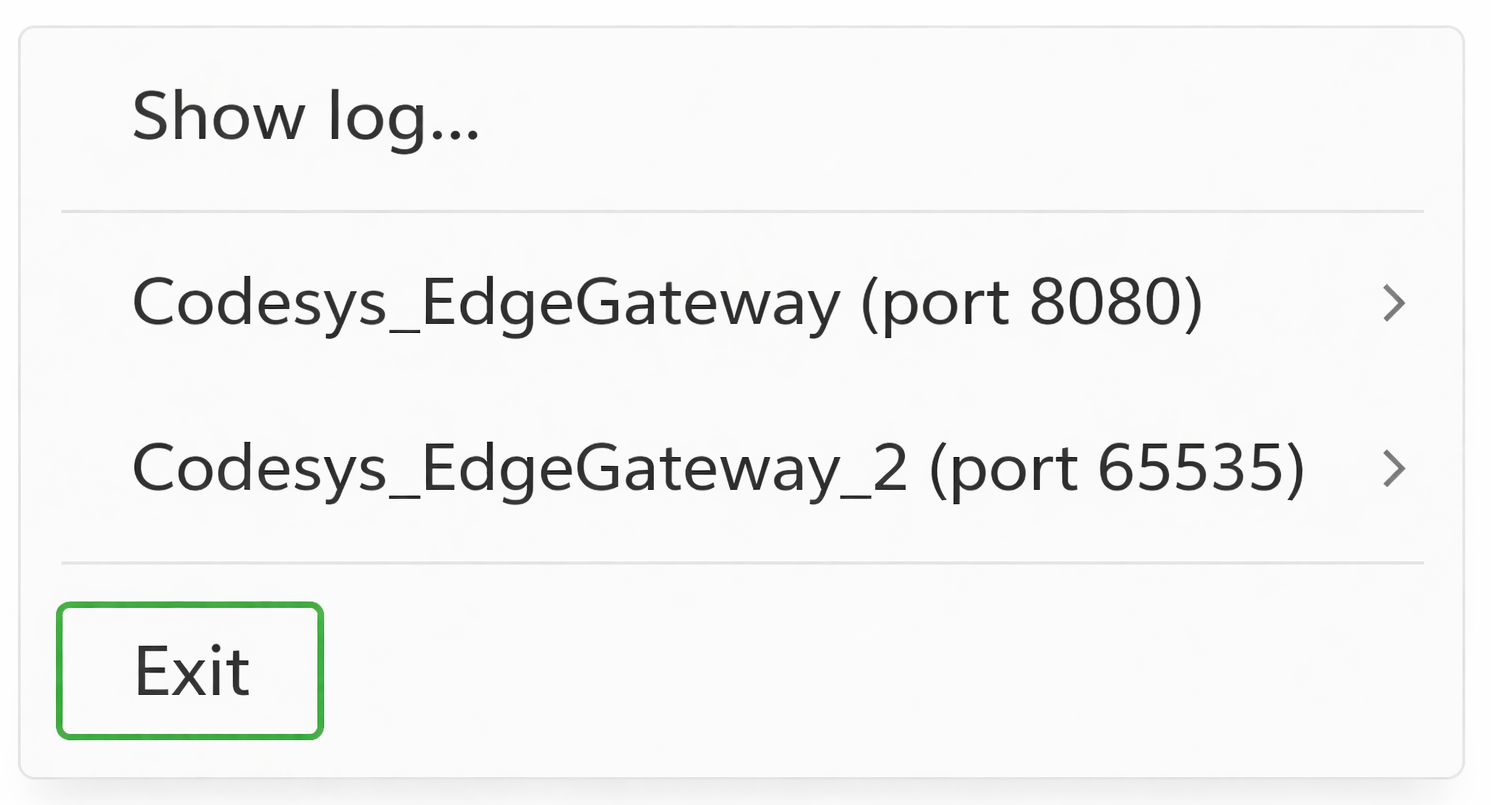
Exit the RMT Client
To shut down the RMT Client, select Exit from the tray menu.
Note
The tunnel list is not saved when the application is closed. When you restart the RMT Client, it will always start with an empty configuration.
Troubleshooting
If you encounter issues when setting up or using a tunnel, check the following:
Port already in use
Problem:
The client prompts you again immediately after entering a port.
Cause:
Another application is already using the selected port.
Solution:
Use a different port (for example, between 8000 and 9000).
Link does not open
Problem:
Clicking the link in the DataPortal has no effect.
Cause:
The RMT Client is not installed.
Solution:
Install the RMT Client and try again.
Cannot connect to the service
Problem:
Your service tool cannot connect to the tunnel.
Cause:
The tunnel is not running.
Solution:
Right-click the RMT icon in the Windows notification area and check the tunnel status.
If the Start tunnel option is enabled, click to start the tunnel.
View logs
If you encounter connection issues, you can inspect the logs of the internal operations of the tool.
To do so, proceed as follows:
-
Right-click the RMT Client icon
. -
Click Show log. The Log window opens.
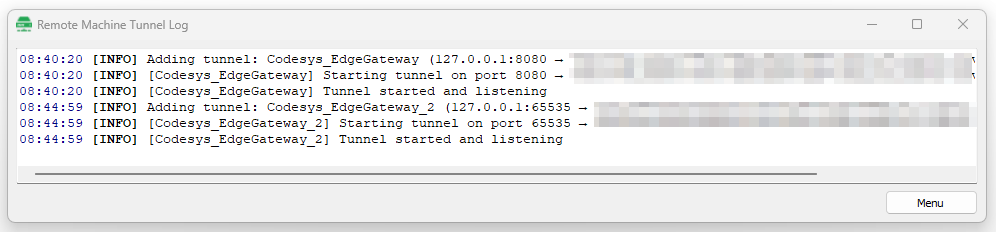
Figure 9: Log window
The Menu button in the log window provides quick access to the same options as the RMT Client icon.
Log entries
The log displays different levels of messages that help you understand the tunnel status and diagnose issues.
| Level | Description |
|---|---|
| INFO | Provides general information about the tunnel status and normal operation. |
| WARNING | Indicates a temporary connection issue. The client may reconnect automatically. |
| ERROR | Indicates a firewall, network, or permission issue blocking the connection. |