User Roles
The concept of user roles simplifies user management by allowing administrators to create, edit, delete and assign user roles to individual users directly in the DataPortal.
User roles help standardize permission management for users with similar responsibilities, for example Machine Owners, Dealers or Service Teams. Instead of configuring permissions individually for each user, predefined roles can be assigned and reused across the organization.
For example, you can assign specific roles for various tasks in the DataPortal, such as Machine Owners or Dealers.
Note
The first user role must be created by your Proemion representative. Please contact them.
To create, edit and delete user roles, the Tenant:Admin Permission Set is required.
To assign user roles to users, the Org:Maintain Permission Set is required.
Create User Roles
After the first user role has been created by your Proemion representative, you can create additional custom user roles.
Note
The list of available user roles depends on the roles that have already been created in your DataPortal instance.
To create a new user role, proceed as follows:
-
Open the User Roles page via Settings > Administration > User Roles. The overview lists all existing roles.
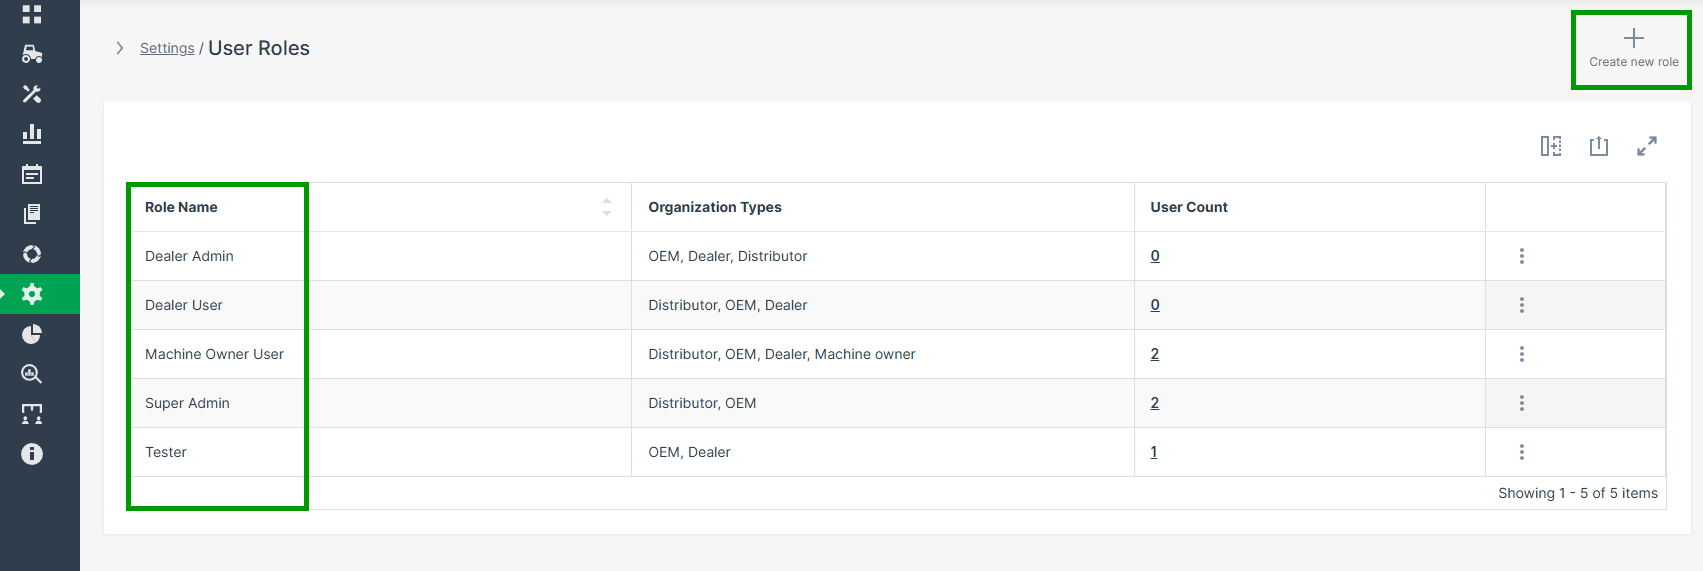
Figure 1: Overview User Roles Page -
Click Create new role in the upper-right corner to open the role creation page.
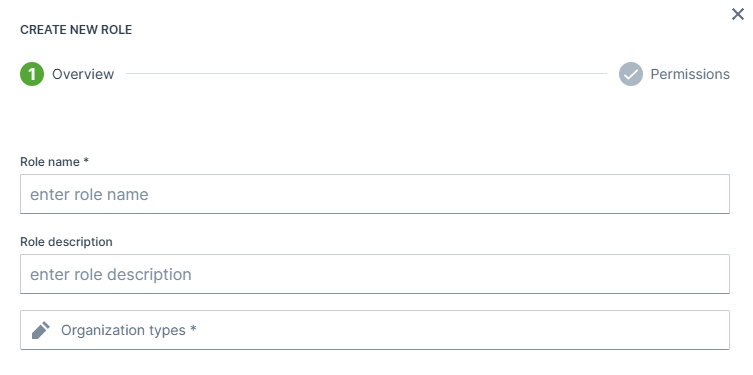
Figure 2: Create User Roles Page -
Enter the basic information for the role, to determine in which organization environments the role can be assigned:
- Role name: (mandatory): Choose a clear and descriptive name.
- Role description: (optional): Add context for other administrators.
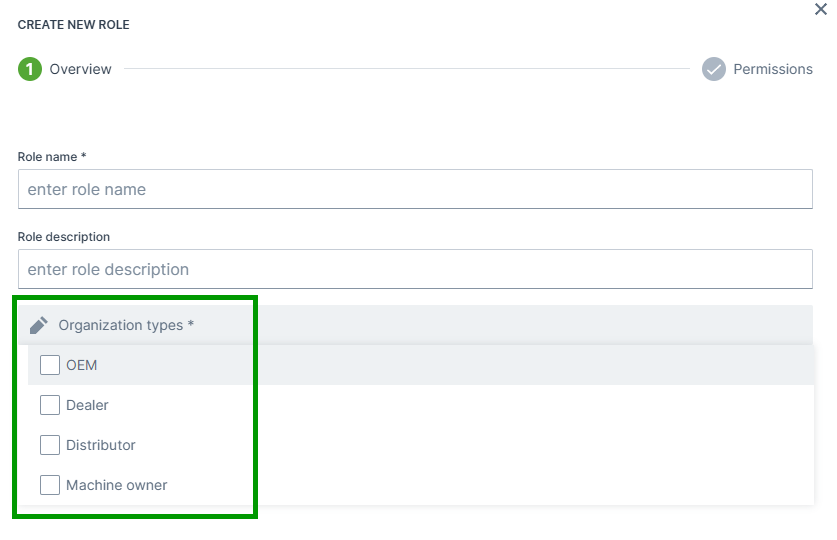
- Organization types: (mandatory): Select one or more of:
- OEM
- Dealer
- Distributor
- Machine Owner
-
Click Next Step to proceed with the permission assignment.
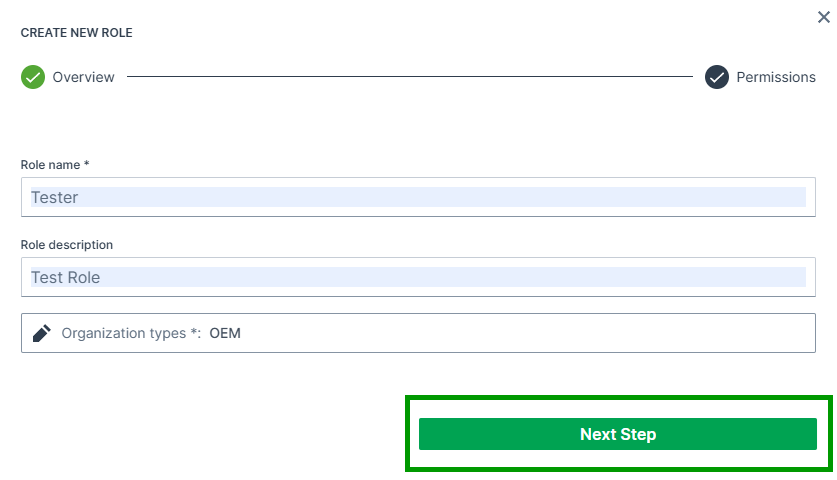
Figure 3: Next Step -
Assign the required permissions for each subject:
- Subjects are grouped for improved usability.
- Click the question-mark icon to view a tooltip describing the subject’s main functions.
- Use the quick-action buttons to speed up configuration:
- Set all to admin: Grants admin permission for all subjects.
- Set all to none: Removes all permissions.
Recommendation: Start with minimal permissions and grant higher privileges only where necessary.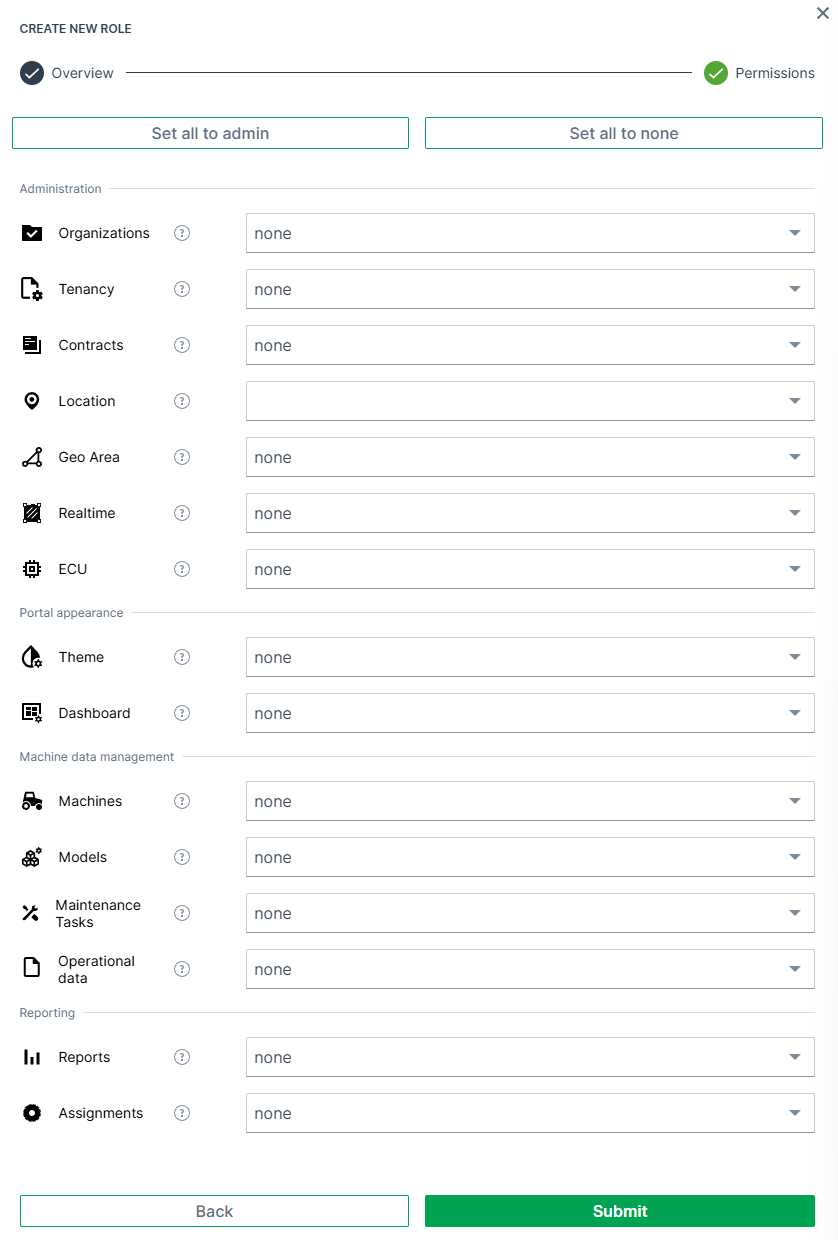
For further information about permissions, refer to the Permissions documentation.
-
Click Submit to finalize the role. A confirmation message appears: Role successfully created!
The role is now listed in the User Roles overview.
Delete User Roles
To delete an existing user role, proceed as follows:
- Open the ⋮ (three-dots) menu next to the role you want to remove.
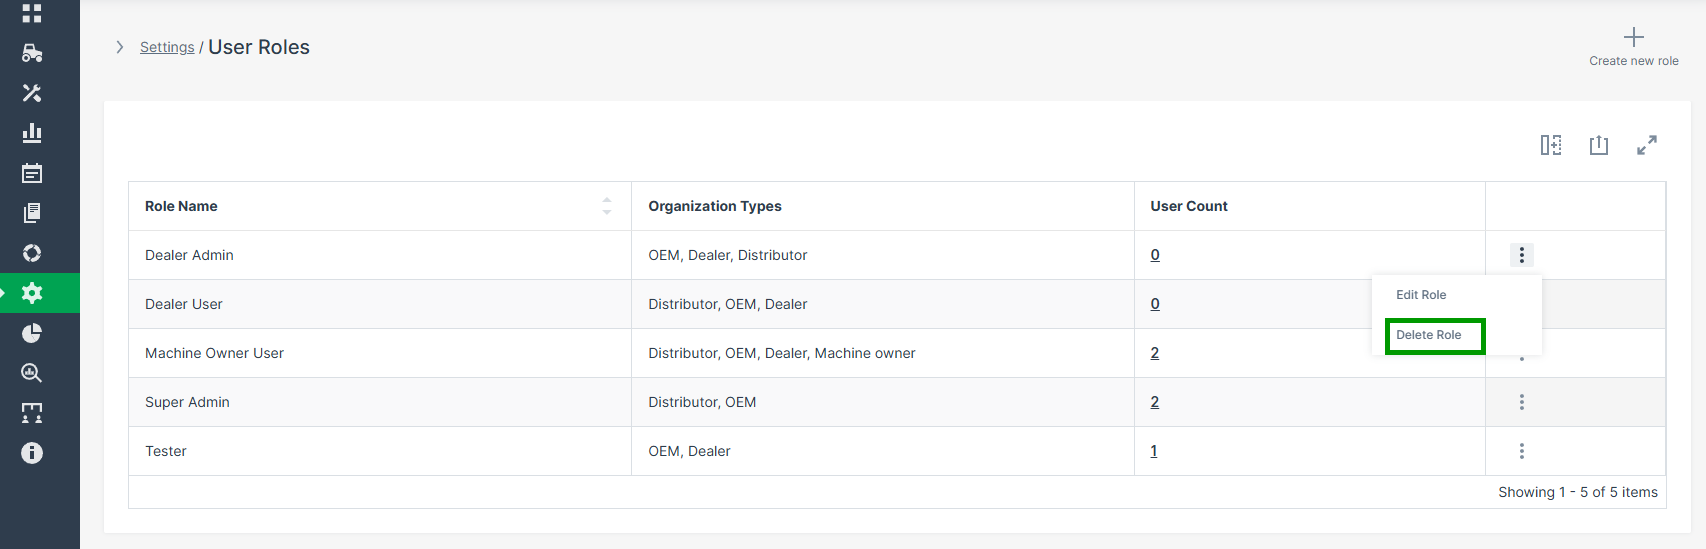
-
Select Delete Role. A delete confirmation dialog appears.
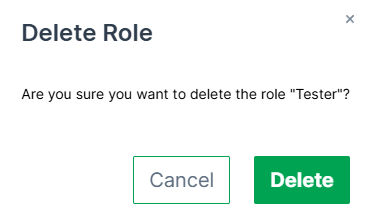
Figure 4: Delete Role Confirmation Dialog -
Click Delete to confirm the action. A confirmation message appears: Role successfully deleted!
Note
If the role is currently assigned to users, it cannot be deleted.
Edit User Roles
To modify an existing role, proceed as follows:
-
Open the ⋮ (three-dots) menu next to the role and select Edit Role.
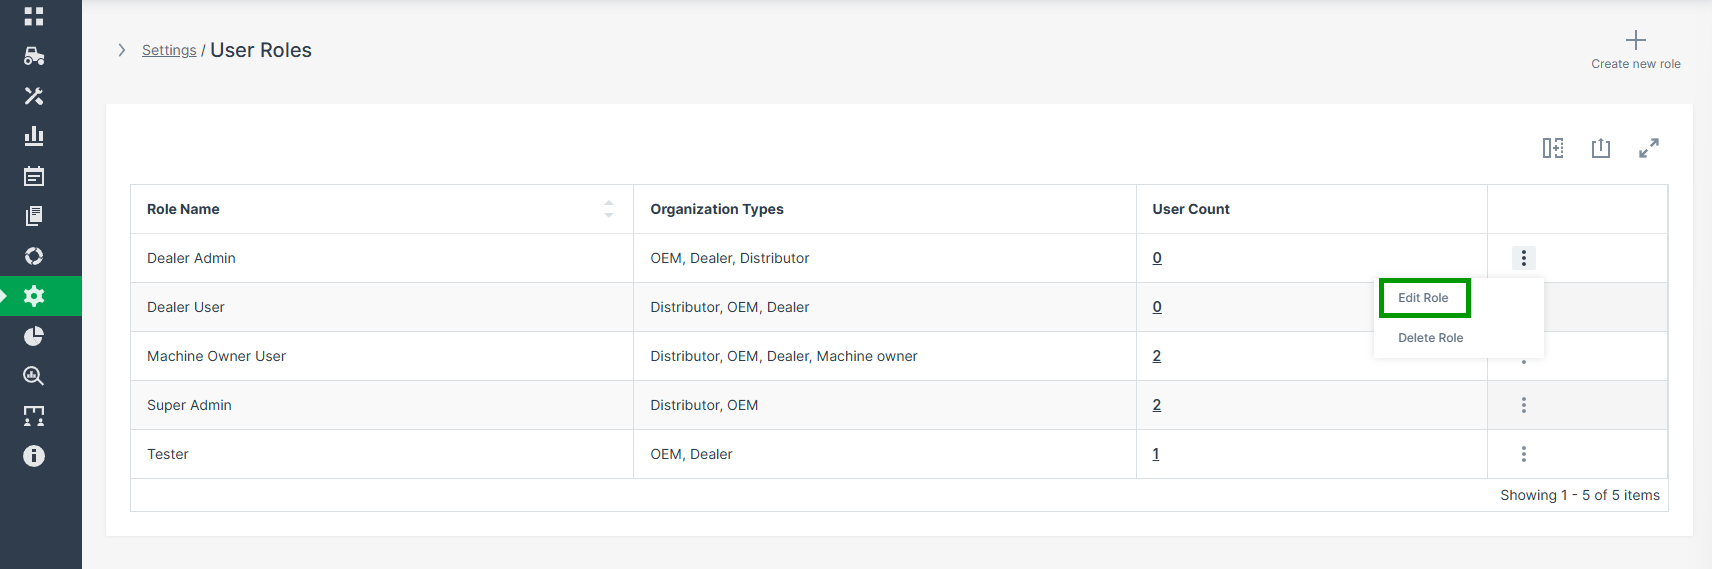
Figure 5: Edit User Role -
Adjust the role information and permissions as needed.
- Use the same permission assignment logic as described under Create User Roles.
- Click Submit to save your changes. A confirmation message appears: Role successfully updated!
Assigning User Roles
To assign a predefined user role, proceed as follows:
-
Navigate to Settings > Administration > Organization Structure > Users. Open the 3-dots menu ⋮ at the end of a user and select Details.
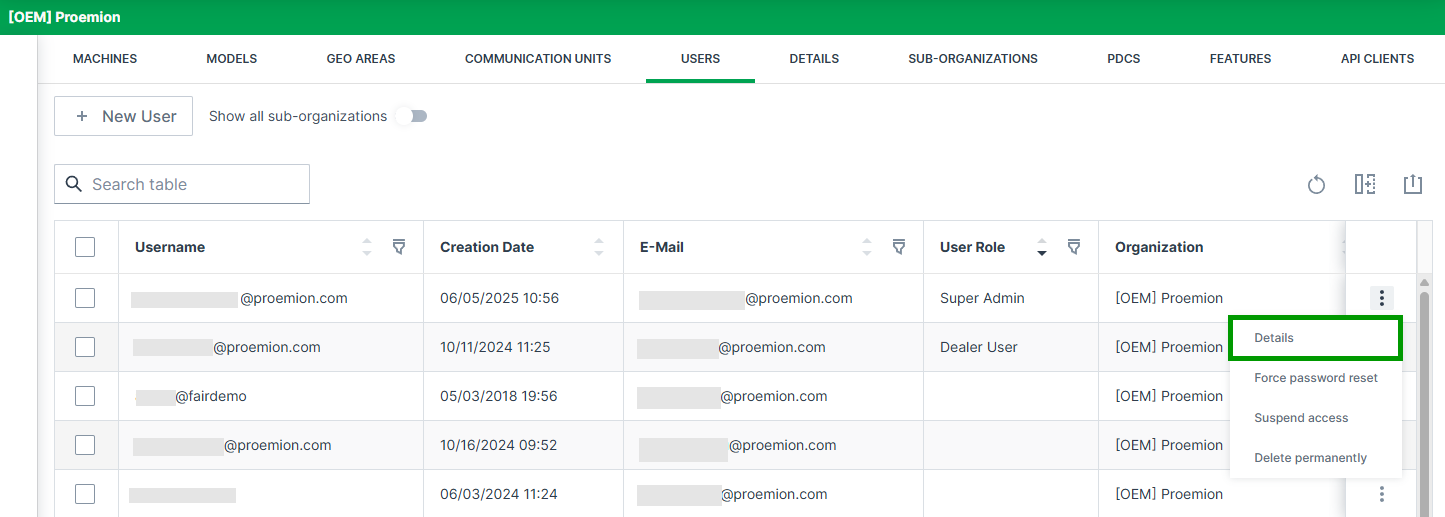
Figure 6: Details User Roles -
Click Permissions in the top right corner. The checkmark turns green to indicate that edit mode is active.
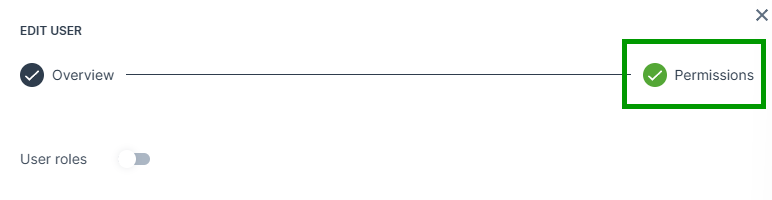
Figure 7: Permissions Button User Roles -
Active the User roles toggle. The User role dropdown menu appears.
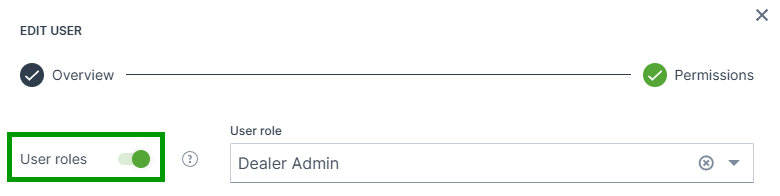
Figure 8: Toggle User Roles -
Open the User role dropdown menu and select a role from the list.
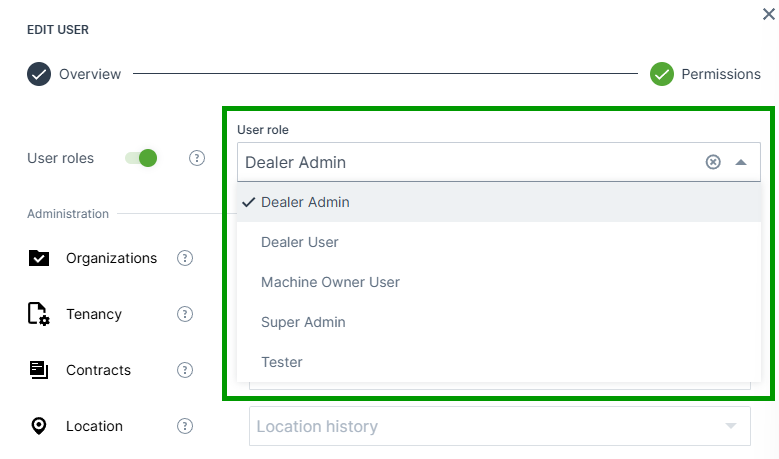
Figure 9: Dropdown Menu User Roles -
Click the Submit button to save your changes.
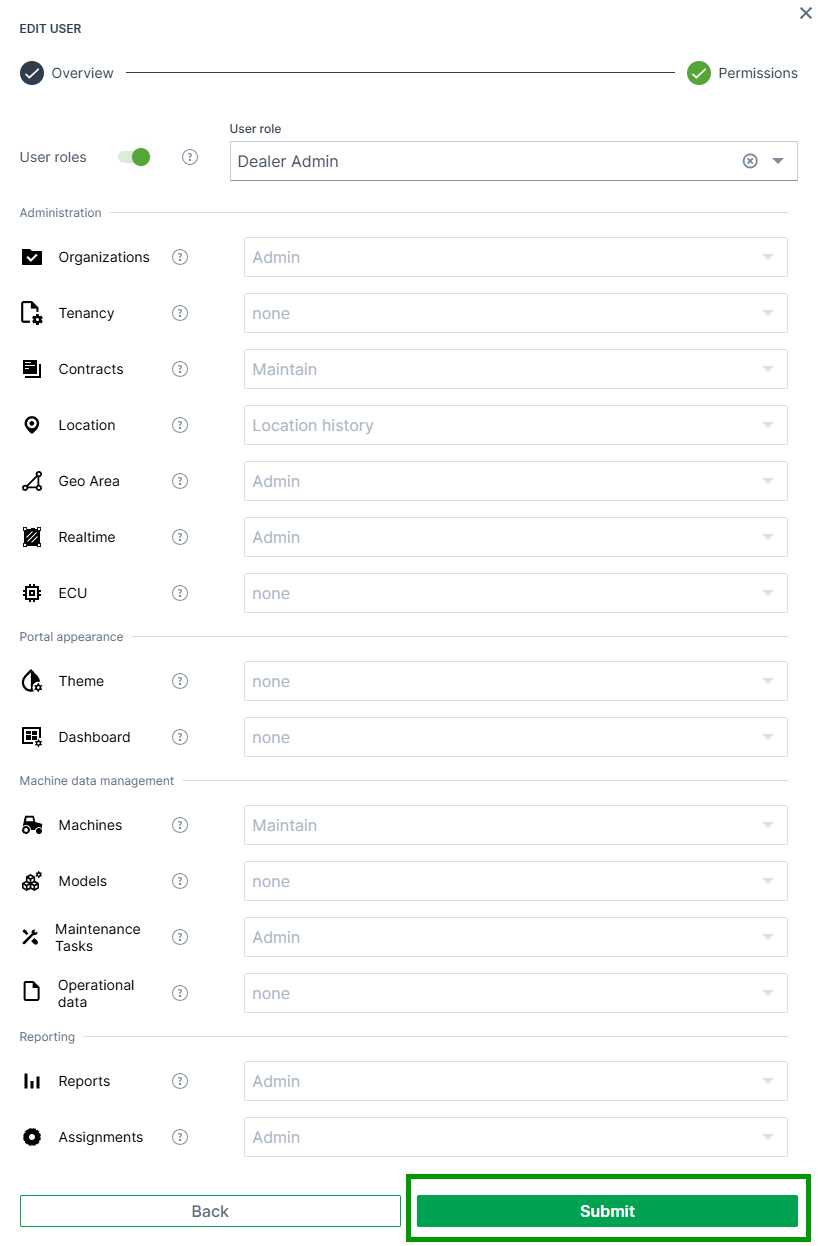
Figure 10: Submit Button User Roles